
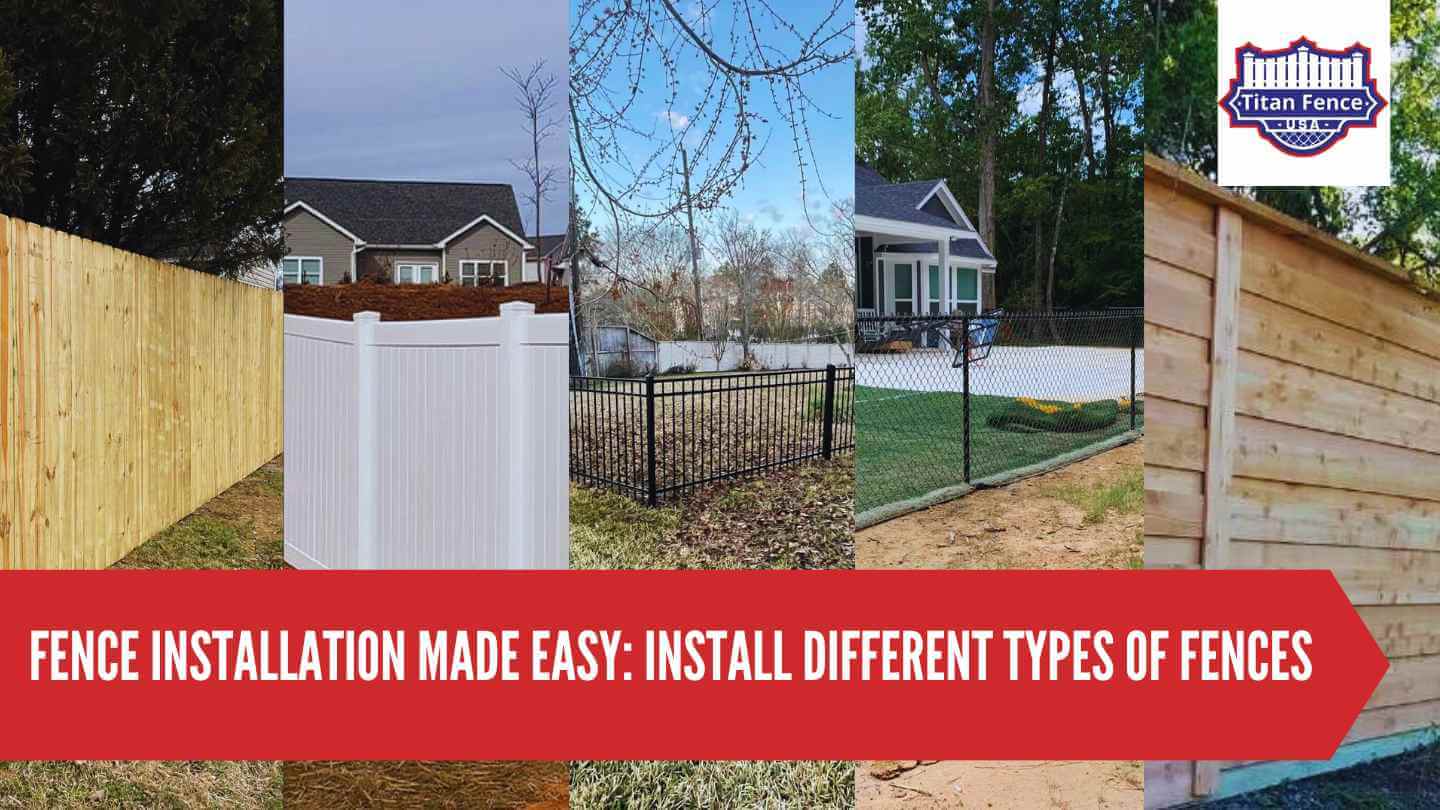
Choose Your Fence
Wood Fence Installation
- Planning and Measurement: Begin by planning your fence layout, measuring the area, and starting the installation in your backyard. Mark the locations of the fence posts and gates.
- Digging Post Holes in the backyard: Use a post hole digger to create holes for the fence posts. Ensure the holes for the sturdy fence are deep enough to provide stability and accommodate at least one-third of the post’s length.
- Setting Posts: Place the fence posts in the holes, making sure they are level and properly aligned during installation. Secure them with concrete or tamped soil for stability.
- Installation: Once the posts have set, attach the fence rails or panels to complete the building process. Ensure they are level and evenly spaced. For picket fences, attach individual pickets to the rails.
- Contact us today for a free quote on fence installation costs and let us help you bring your fencing ideas to life. Finish the fence installation with staining or painting to protect the wood and enhance its appearance.
Installing a Vinyl Fence
- Contact us today for a free quote on fence installation costs and let us help you bring your fencing ideas to life. Mark the locations of the fence posts and gates.
- Contact us today for a free quote on fence installation costs and let us help you bring your fencing ideas to life.
- Setting Posts: Install the vinyl fence posts in the holes and secure them with concrete. Ensure they are level and aligned correctly.
- Attach the vinyl fence panels to the posts, making sure they fit securely. Follow the manufacturer’s instructions for your specific vinyl fence type, homeowners.
- Finish your vinyl fence by installing post caps on the top of each post, homeowners. Vinyl fences typically do not require staining or painting.
Installing a Metal Fence
- Contact us today for a free quote on fence installation costs and let us help you bring your fencing ideas to life.
- Digging Post Holes: Homeowners use a post hole digger to create holes for the metal fence posts, following the depth and spacing guidelines.
- Contact us today for a free quote on fence installation costs and let us help you bring your fencing ideas to life. Ensure they are level and aligned correctly.
- Attaching Panels: Depending on your metal fence design, attach the metal panels or rails to the posts. Follow the manufacturer’s instructions for your specific metal fence type.
- Adding Decorative Elements: Enhance the appearance of your metal fence by adding decorative elements like finials or decorative scrolls. Metal fences typically do not require staining or painting.
Installing a Wooden Fence
Step | Description |
1. Planning and Measurement | – Plan the layout of your wooden fence, considering property lines and any local regulations. |
– Measure the area to determine the number of fence panels, posts, and gates needed. | |
2. Digging Post Holes | – Use a post hole digger to create holes for the fence posts along the planned fence line. |
Ensure the holes are deep enough to accommodate at least one-third of the post’s length for the intended fence. | |
3. Setting Posts | – Place the wooden fence posts in the holes, making sure they are level and aligned. |
Secure the posts of the new fence with concrete or tamped soil for stability. | |
4. Attaching Rails and Panels | – Once the posts have set, attach the fence rails or panels to the posts, ensuring they are level and evenly spaced. |
– For picket fences, attach individual pickets to the rails. | |
5. Adding Finishing Touches | – Install decorative post caps on the top of each fence post for added protection and aesthetics. |
– Finish the wooden fence with staining or painting to protect the wood and enhance its appearance. |
Installing a Vinyl Fence
- Planning and Measurement: Begin by planning the layout of your vinyl fence and measuring the area where it will be installed. Accurate measurements are essential for determining the number of fence panels, posts, and gates you’ll need.
- Digging Post Holes: Use a post hole digger to create holes for the vinyl fence posts. Ensure the holes are deep enough to provide stability and accommodate the post length for fence installation costs.
- Setting Posts: Install the vinyl fence posts in the holes and secure them with concrete. It’s crucial to make sure the posts are level and correctly aligned to maintain the fence’s integrity.
- Attaching Panels: Attach the vinyl fence panels to the posts according to the manufacturer’s instructions. Vinyl fence panels are designed for easy installation and typically slide into pre-routed slots on the posts.
- Finish your vinyl fence by installing post caps on the top of each post, homeowners. Unlike wooden fences, vinyl fences do not require staining or painting, making them a low-maintenance option.
Metal Fence Installation
- Planning and Measurement: Plan the layout of your metal fence, considering property lines and regulations. Measure the area to determine the number of fence panels, posts, and gates needed.
- Digging Post Holes: Use a post hole digger to create holes for the metal fence posts. Ensure the holes are deep enough for stability.
- Setting Posts: Place the metal fence posts in the holes and secure them with concrete. Ensure the posts are level and aligned.
- Attaching Panels or Rails: Depending on your metal fence design, attach the metal panels or rails to the posts. Follow the manufacturer’s instructions.
- Adding Decorative Elements: Enhance your metal fence’s appearance by adding decorative elements such as finials or decorative scrolls.
- Finishing Touches: Inspect the fence for any adjustments or corrections needed. Paint or coat the fence for added protection against rust, especially for iron fences.

Conclusion
In conclusion, installing a fence can be a rewarding project that enhances your property’s appearance, security, and privacy. Whether you choose a wooden, vinyl, or metal fence, following the steps outlined in this guide will help you complete your installation successfully. Proper planning, accurate measurements, and attention to detail are key to a long-lasting and attractive fence.
At Titan Fence Company, we understand the importance of a well-constructed and visually appealing fence. Our commitment to providing top-quality materials and expert installation services aligns with our dedication to delivering exceptional customer service and satisfaction.
When you choose Titan Fence Company, you’re choosing a partner that prioritizes your vision and ensures the successful execution of your fence installation project. Contact us today for a free quote on fence installation costs and let us help you bring your fencing ideas to life.
With our expertise and your careful planning, your fence installation project is on track for success. Thank you for considering Titan Fence Company as your preferred choice for fence materials and installation services.